
Note: This website contains almost no TokiMemo content.
In fact, this picture is the only reference at this point.
My most favourite PC CasePost 00040 | June 20th 2023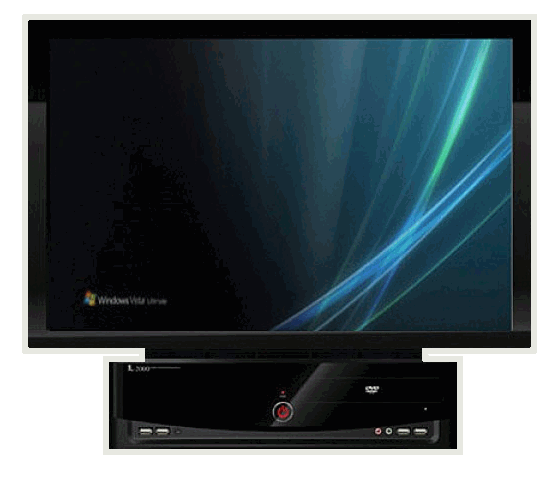 Nothing ages a computer as much as Windows Vista wallpaper. There's a special place in my heart for evercase.co.uk. It's a website that sells 00's era PC components. If you're looking for a BTX case or a FireWire webcam with Windows 98 support, they've got you covered. Bear in mind that the site itself is pretty 00's. It doesn't automatically redirect you to an SSL connection, so if you were to place an order, you'd be sending your home address over an unencrypted connection. Payment is done via PayPal with is encrypted, however. Still, if you intend to place an order, you should add "https://" to the address bar. Alternatively, they also have an eBay site. Also, being a UK site, EU citizens may end up with a VAT surcharge due to Brexit. Despite these downsides, I have still placed a couple of orders with them. It is on this website I found my most favourite PC case: The catchily named WT-01L. The WT-01L has managed to combine the sleek space-efficiency of an all-in-one PC without compromising on the flexibility that comes with building your own PC. It's al L-shaped case that has built-in a VESA mount. Behind the screen you have room for a full-size ATX board and power supply along with an optical drive and a couple of hard drives. While you get the freedom to pick whatever components you want, it doesn't take up much more space than your monitor would anyway. Another benefit is that you get your case up on the table. Any wireless transceivers will have better connection and you'll have access to all your rear ports wihtout reaching behind the case. Some time ago I downgraded my server to cut down on power use, so I decided to use the processor (AMD Ryzen 3950X) and graphics card (GTX 1080) I pulled from the server and build a gaming PC instead in this case. Limitations and how to overcome them:I'll be the first to admit that the case isn't perfect. Even if case had been designed with gaming in mind, it's from a time before people seriously started caring about airflow. This means you'd be in for a nasty surprise if you were to fill this box with high-end components like I'm planning to do. Still, nothing a dremel can't fix!  The case only has a single mounting place for an included 120 mm fan. If you can live without the side mounted hard drive caddy, you can cut a hole for another 120 mm fan underneath the existing mount. Technically, you can also squeeze in a third 120mm fan, but then you wouldn't be able to mount an optical drive as its mounting screws would stop the fan from spinning. There isn't really anything worth cooling in this area anyway, so I cut the hole for the mount but opted for the the optical drive. In any case, these new holes look terrible, so I covered them with fan filters which has the added benefit of keeping dust out. Filtered intake - check! The case is quite narrow which means you won't be able to fit tall coolers. Seeing I already had my dremel out, I cut a hole in the top for a 240mm radiator. I went with an Arctic Liquid Freezer all-in-one cooler as it appeared to have the a longer hose than other brands. Another issue with case's narrowness is graphics cards clearance. Out of the gate, you'll have a hard time fitting a card if its taller than a PCI bracket. They tried to remedy this by making a cut-out by extension slots, but seeing the cut-out doesn't go all the way to the edge of the case, it isn't much use. Again, mr. Dremel to the rescue. By extending the cut-out to the edge of the case it gets a lot easier fitting a GPU. The old plastic cover won't cover the hole any more, so I designed and 3D printed a new one. I designed it in three parts so that in would fit on my printer. I used transparent filament for the middle piece  
My finished build. One of my trademark wifi switches resting on top of the 24-pin ATX connector is a recent addition which explains the atrocious cabling. Other small nitpicks:

My desk setup. I love how little space it takes up, considering it's a full ATX PC. If I need even more desk space, the keyboard and mouse fits on the little shelf behind the monitor. |